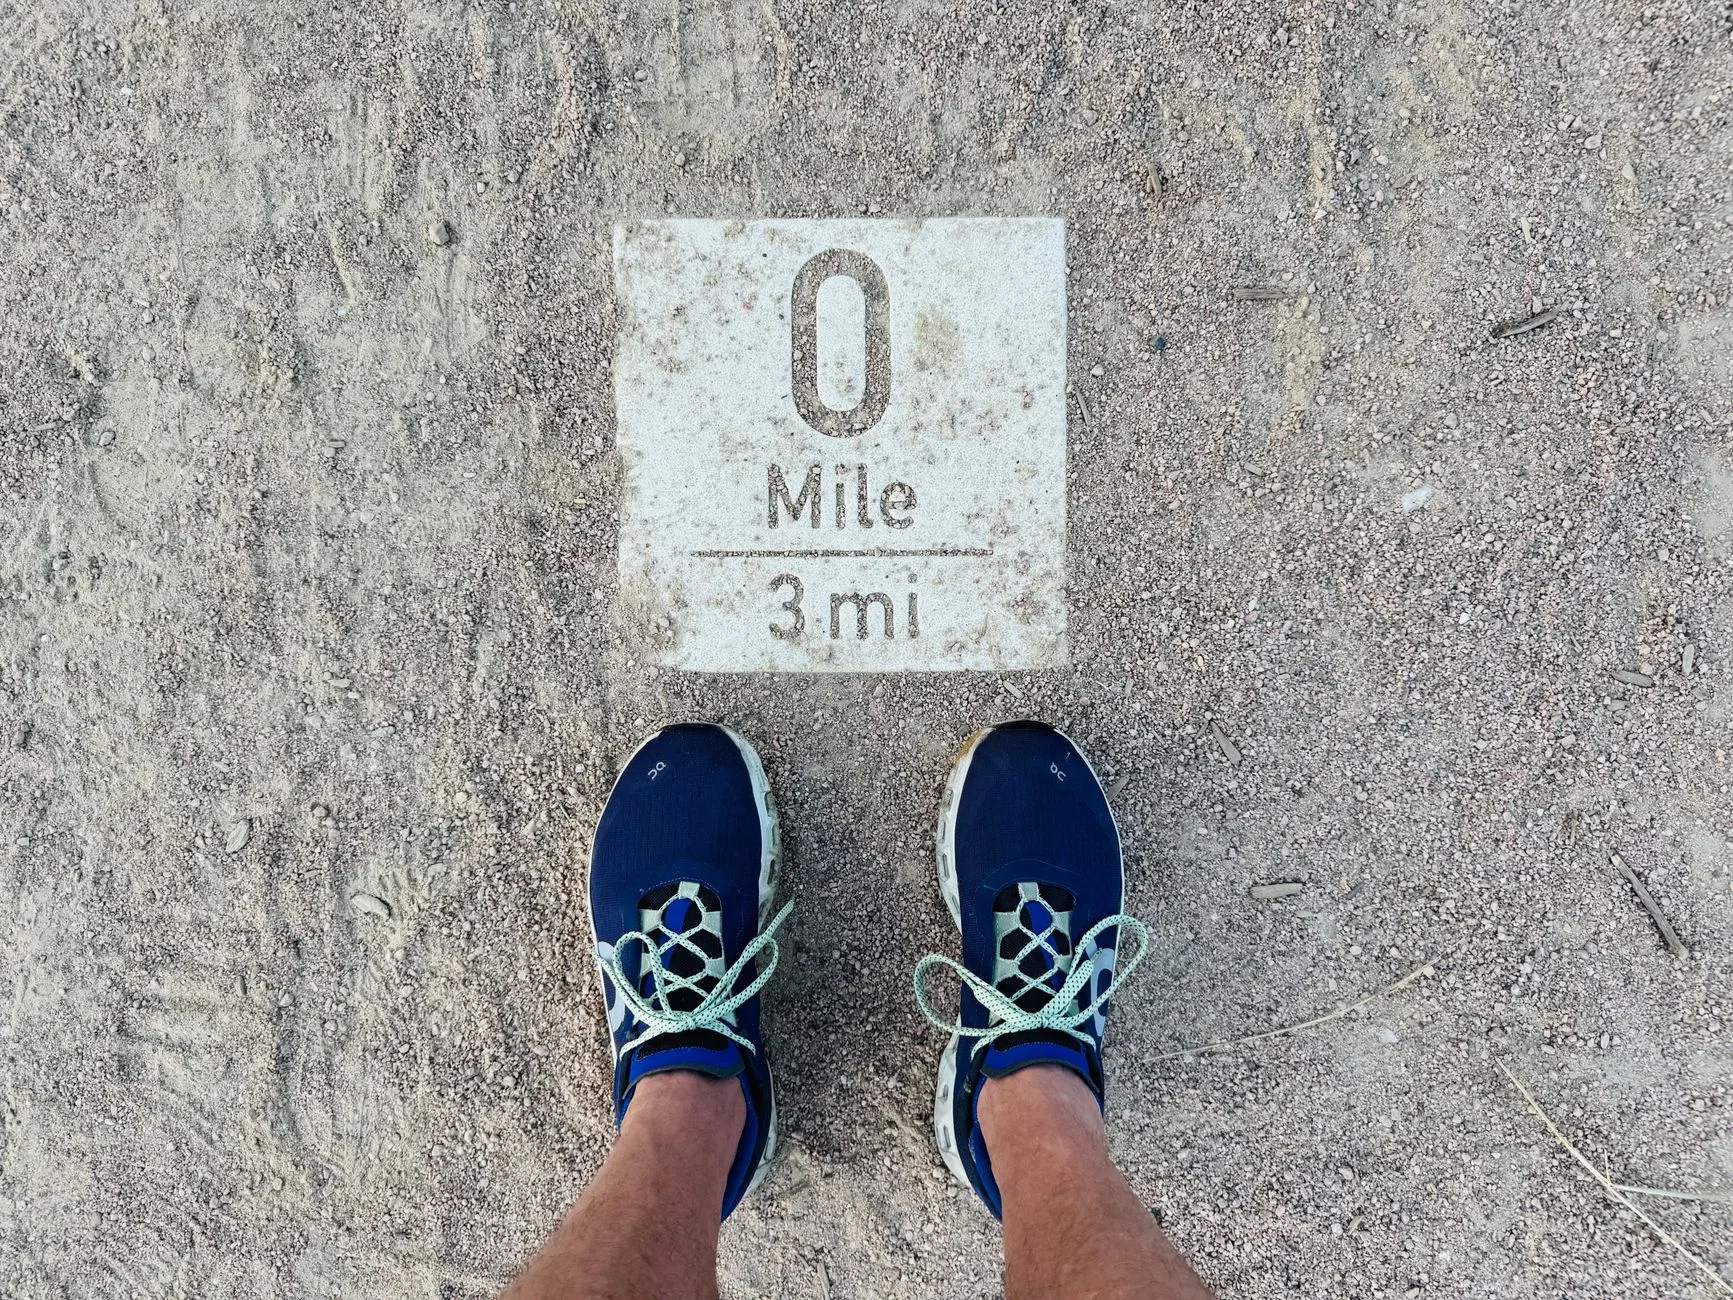
Photo by EnsearchofYou * on Pexels
Your first trail run will probably humble you. You run a comfortable 5:30/km on the road, you head to your local woods or hills expecting something similar, and twenty minutes in you’re walking up a slope, breathing like you’ve never run before, and wondering if you’ve somehow lost all your fitness overnight. You haven’t. Trails are just a different sport wearing the same shoes.
This confuses a lot of road runners more than it should. You’ve put in the miles, you know your paces, you’ve maybe run a few 10Ks or even a marathon — and then a muddy hill makes you feel like a beginner again. It’s not a fitness problem. It’s a skills and expectations problem, and both are fixable in a few weeks, not months.
This guide is for runners who already run — you don’t need a beginner’s plan for running itself, you need the specific adjustments that make trails work for your legs, your lungs, and your Tuesday evening schedule.
Forget your road pace completely
This is the single biggest mental shift. On the road, pace tells you almost everything about effort. On trails, pace tells you almost nothing — terrain, elevation, and surface change minute to minute, and the same 5:30/km that’s easy on tarmac might be an all-out effort on a rooted, rooty descent.
Run trails by effort, not by pace. Use the talk test: if you can hold a conversation in short sentences, you’re in easy/aerobic territory, regardless of what your watch says. Expect your average pace on technical trail to be 1–3 minutes/km slower than your equivalent road effort. That’s not you getting unfit. That’s just trail.
If you’re coming from structured road training, this is also a good moment to properly understand your aerobic base — a lot of trail running success is really just aerobic fitness applied to uneven ground.
Walking the hills is not cheating
Road runners sometimes treat walking as failure. On trails, walking uphill is standard practice, even for elite trail runners. Steep climbs — anything over roughly 10–12% gradient — are usually more efficient to power-hike than to run, because the energy cost of running steep inclines is disproportionately high compared to fast walking.
A simple rule that works for most hills: if your heart rate climbing is pushing into the same zone you’d hit sprinting, switch to a fast hike with a strong arm drive. You’ll often summit at nearly the same time as if you’d tried to run it, with far less damage to your legs for the descent.
Your road shoes won’t survive this (and shouldn’t)
This is where a lot of road runners get it wrong in week one — they head out in their marathon trainers and either slip constantly on mud or wreck a £140 pair of shoes in one muddy outing.
Trail shoes differ from road shoes in three specific ways:
| Feature | Road shoe | Trail shoe |
|---|---|---|
| Outsole lugs | Flat/minimal, for grip on smooth tarmac | 3–5mm deep lugs for mud and loose ground |
| Upper | Breathable mesh, less protection | Reinforced toe bumper, rock plate underfoot |
| Stability | Built for forward motion only | Wider base, better lateral support for uneven footing |
| Drainage | Not designed to get wet | Often quick-drying or designed to shed water fast |
You don’t need to spend a fortune for your first few outings — a mid-range trail shoe with moderate lugs (4mm) handles most UK trail terrain, from dry forest paths to genuinely boggy fields. Save the aggressive, deep-lug shoes for proper fell or mountain terrain once you know you’re hooked.
Navigation is a real skill, not an afterthought
On the road you follow streets. On trails, especially once you’re off the obvious park loop, paths fork, signs disappear, and your phone signal drops. This catches out confident road runners constantly — not because trails are dangerous, exactly, but because getting turned around adds time, stress, and sometimes real risk if weather turns or light fades.
Before your first proper trail run:
- Download the route offline (most mapping apps let you save routes for offline use)
- Check an Ordnance Survey map of the area if you’re in the UK — it shows gradient, path type, and features that running apps often miss
- Tell someone your rough route and expected return time
- Carry a basic understanding of your bail-out points — where you could cut the run short if needed
This isn’t paranoia. It’s the same category of preparation as checking your half marathon route the night before a race — just slightly higher stakes because help is further away.
Build ankle and balance resilience before you need it
Road running is repetitive in a good way — your joints adapt to a predictable motion. Trails demand constant small corrections: ankles rolling slightly on roots, knees adjusting to camber, hips stabilising on loose stone. Most trail running injuries in new trail runners are ankle-related, and a sprained ankle is one of the more common reasons people end up Googling recovery timelines mid-training block.
Two simple additions to your week, 10 minutes total, 3 times a week:
- Single-leg balance holds: 30 seconds each leg, progress to eyes closed
- Lateral bounds: 3 sets of 10 each side, controlled landing
These aren’t glamorous, but they build the proprioception — your body’s sense of foot position — that trail terrain demands and road running simply doesn’t train. If you do roll an ankle, the NHS has clear guidance on managing sprains and strains in the first 48–72 hours, which is worth bookmarking before you need it, not after.
Adjust your gear for weather you can’t control
Road runs are rarely cancelled by conditions — you can always find a dry pavement. Trails expose you properly: mud, exposed ridgelines, sudden wind, temperature drops in forest shade. A layer that’s overkill on the road is often essential on an exposed trail.
If you’re planning longer trail outings — anything over 90 minutes — you’ll also want to rethink hydration and carrying capacity. A road runner’s handheld bottle often isn’t enough once you’re further from a shop or tap. Worth looking at a proper running backpack for longer sessions, and a decent waterproof jacket that can handle wind and rain without you overheating on the climbs.
Start smaller than your ego wants to
The temptation is to pick an ambitious, scenic 15km trail loop for your first outing because it looks good on Strava. Don’t. Start with something in the 5–8km range, on well-marked, moderate terrain, ideally a route you’ve seen other runners or walkers use regularly.
A reasonable first-month progression for an experienced road runner:
- Week 1–2: 2 trail runs, 30–40 minutes, flat-to-rolling terrain, run/walk hills freely
- Week 3: 1 trail run with a longer, steeper climb included (treat it as a skills session, not a time trial)
- Week 4: Your first “proper” technical outing — roots, rock, or moorland — ideally with someone who knows the route
This isn’t about caution for its own sake. It’s about letting your ankles, balance, and downhill braking muscles catch up to your existing cardiovascular fitness, which is usually well ahead of your trail-specific strength in week one.
The Honest Takeaway
- Tomorrow morning, if you’re planning your first trail run: pick a 5–8km loop you’ve seen others use, ditch pace targets entirely, and run by effort instead.
- Walk anything steep enough to make you breathe like you’re sprinting — it’s standard practice, not a failure.
- Buy a moderate trail shoe (around 4mm lugs) before you buy anything else; it solves more problems than any training advice will.
- Spend 10 minutes, three times a week, on single-leg balance and lateral bounds — it’s the cheapest injury insurance you’ll find.
- Download your route offline and tell someone where you’re going, every single time, even on routes you “basically know.”