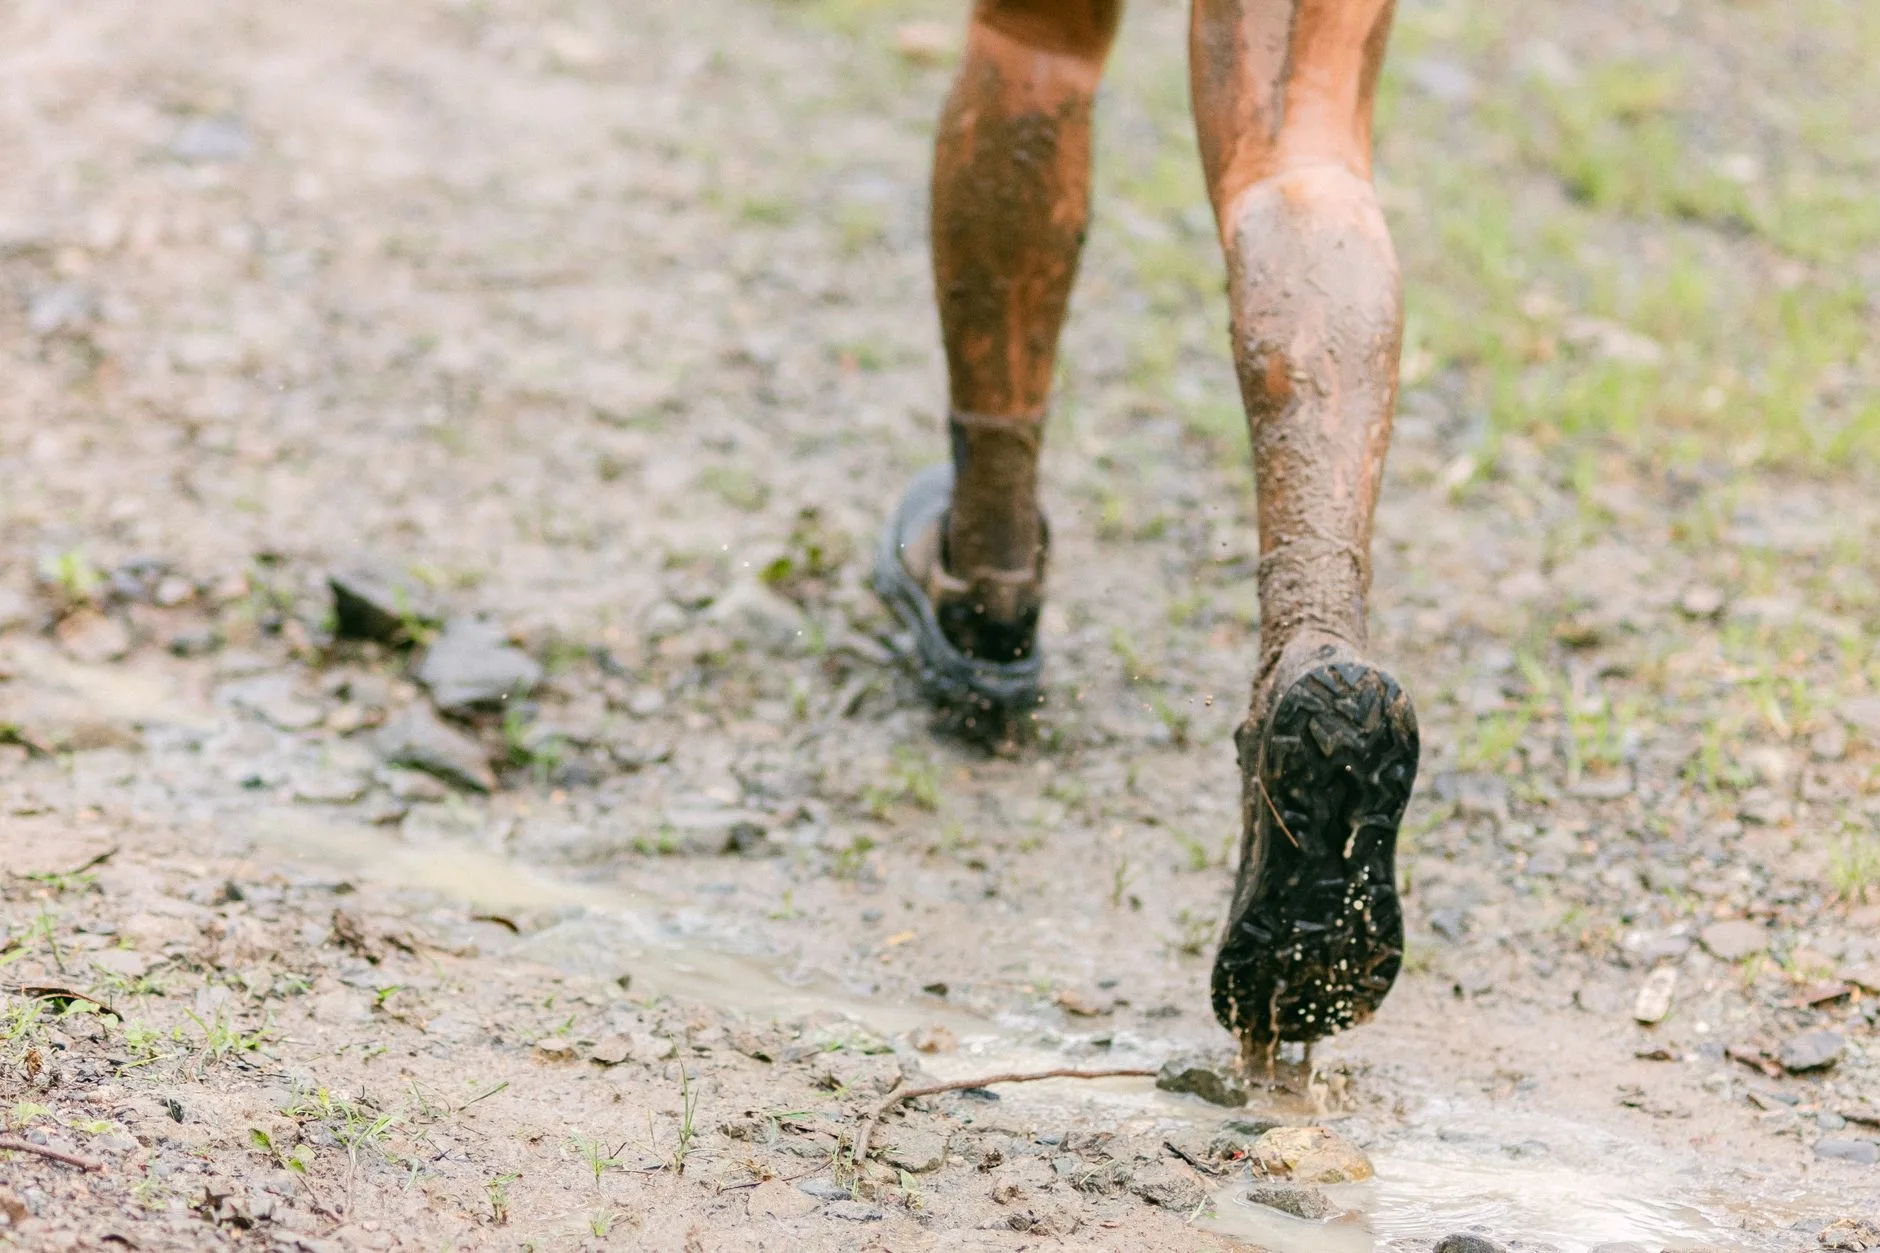
Photo by Ilarawan Photography on Pexels
Blisters stop more runners in their tracks than almost any other minor injury. They’re painful, surprisingly debilitating for something so small, and almost entirely preventable once you understand what causes them.
This article covers the cause, prevention, and treatment — including whether to pop a blister (and if so, how).
What Causes Blisters
A blister is your body’s response to friction: repeated rubbing between the skin and a surface (your sock or shoe) causes the outer layer of skin to separate from the layer beneath, and fluid fills the gap as a protective cushion.
Three things make friction worse:
Moisture: Wet skin is more vulnerable to friction than dry skin. Sweat, wet weather, and stream crossings all soften the skin and increase blister risk — which is why blisters in the same spots that were fine in dry conditions appear during a rainy race or a long trail run.
Ill-fitting shoes: Too big (foot slides around) or too tight (constant pressure points) both cause blisters in predictable places. Shoes that fit well in a cold shop feel different after an hour of running when your feet have swollen.
Wrong socks: Cotton holds moisture against the skin. Technical running socks wick moisture away, which is the single most effective blister prevention measure available.
Blister Prevention: What Actually Works
1. Running-specific socks (this matters most)
If you’re running in cotton socks, switch. Technical running socks — in polyester, nylon, merino wool, or blended materials — move moisture away from the skin rather than holding it there. Brands like Balega, Injinji (particularly good for toe blisters), and Darn Tough are popular; most sports shops now carry good quality own-brand options for less.
Double-layer socks (such as WrightSock or Thorlos) add a second layer that creates friction between the sock layers rather than against the skin — useful for high-mileage runners.
2. Proper shoe fit
Running shoes should have approximately a thumb’s width of space between your longest toe and the end of the shoe. Your heel should sit snugly without slipping. If you feel any specific pressure point in a shoe in the shop, it will be worse after 40 minutes of running.
Shoes also compress slightly over their lifetime — a shoe that fit well at 200 miles may be causing blisters at 400 miles not because your foot changed but because the midsole and upper have.
3. Anti-friction products
Body Glide, Vaseline, or similar products applied to blister-prone areas before a long run create a low-friction barrier that significantly reduces rubbing. Common areas: between toes, heels, balls of feet, and any area where a seam or lace crosses skin.
4. Taping
Leukotape P (or similar rigid sports tape) applied over known blister-prone areas before a long run is the most robust prevention. It sticks better than regular plasters and stays on even when wet. A strip of tape over the heel or ball of foot protects through an entire long run or race.
5. Gradually break in new shoes
Never run a race or a long run in new shoes. Break them in over 3–4 shorter runs before extending the distance. The materials stiffen in new shoes and cause friction in spots they won’t once broken in.
During the Run: Managing a Forming Blister
If you feel a “hot spot” — a sore, hot area that’s the warning sign of a forming blister — stop and address it immediately if you have the kit:
- Apply a blister plaster (Compeed or similar) directly over the hot spot
- If no plasters available: even a piece of tape or folded tissue creates a temporary friction barrier
Continuing to run on a hot spot typically turns it into a fully developed blister within 1–2 miles. Stopping for 2 minutes is always worth it.
Treating a Blister After Running
Small blisters (under about 5mm): Leave them. The fluid is sterile and protective. Clean the area, apply a blister plaster to protect the skin, and leave the blister to reabsorb on its own over 3–7 days.
Large or painful blisters: These can be drained, but do it properly to avoid infection.
How to drain a blister:
1. Clean the blister and surrounding area with an antiseptic wipe
2. Sterilise a needle with an antiseptic wipe or flame
3. Pierce the blister at its edge (not the centre) with the needle — one or two puncture points
4. Gently press the fluid out using clean gauze or tissue
5. Leave the roof of the blister intact — removing it exposes raw skin and significantly increases infection risk and pain
6. Apply an antiseptic cream and cover with a non-stick dressing or blister plaster
7. Change the dressing daily and keep clean
Signs of infection (increasing redness spreading beyond the blister, warmth, pus, or red streaks) should be seen by a doctor — infected blisters need antibiotic treatment.
Blister-Prone Areas and What to Do About Them
Heels: Usually caused by heel slippage in the shoe. Fix: lace your shoes with a runner’s knot (lace lock) that eliminates heel movement. Also try thicker or double-layer socks.
Toes (especially between toes): Usually caused by toe-to-toe friction. Fix: Injinji toe socks, or small amounts of Vaseline between toes before long runs.
Ball of foot: Often caused by socks bunching or thin sole material. Fix: running-specific socks with a padded sole; check the insole of the shoe.
Sides of foot: Often caused by too-tight toe box or a seam. Fix: check if the shoe model has a known pressure point in your foot type; try a different lace pattern.
Summary
Blisters are almost entirely a gear and preparation issue:
- Wear technical running socks — this is the highest-impact change you can make; bin the cotton socks
- Ensure shoes fit properly — thumb’s width at the toe, snug heel, no pressure points
- Apply Body Glide or Vaseline to known problem areas before long runs
- Use Leukotape for high-risk areas on race day or long-run day
- Treat a hot spot immediately — 2 minutes of tape application beats 2 miles of a forming blister
- Drain large blisters carefully and always leave the roof intact
Next read: Post-run stretching routine for runners