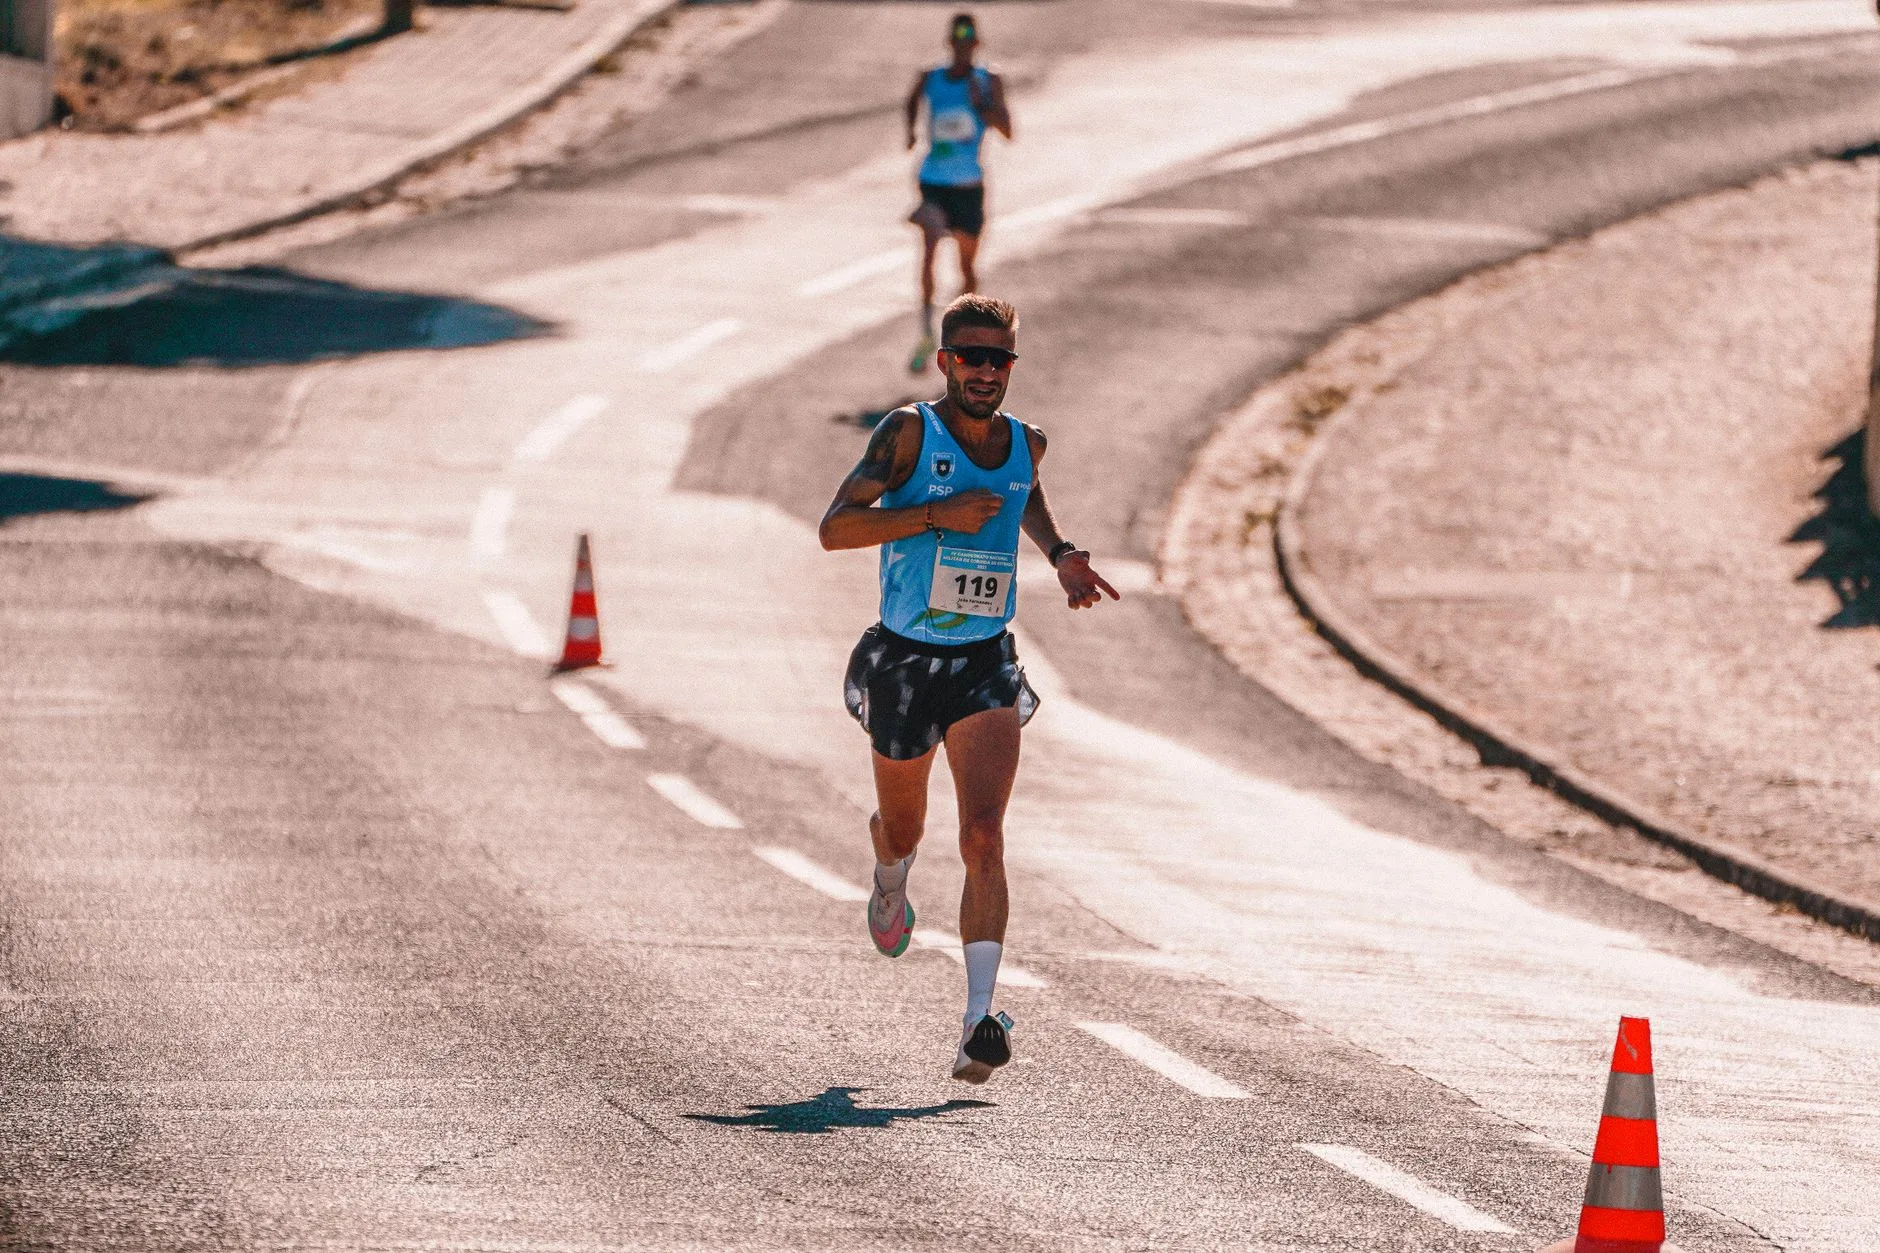
Photo by RUN 4 FFWPU on Pexels
You see the hill from half a mile away. Your breathing is already fine on the flat, and then the gradient kicks in and within twenty steps you’re gasping, your form collapses, and you’re doing that thing where you lean so far forward you’re basically falling uphill. Somewhere behind you, someone who looks twice your age jogs past looking completely unbothered. This is not a fitness problem. It’s a technique and pacing problem, and it’s fixable faster than you’d think.
Most runners treat hills as an obstacle to survive rather than a skill to learn. You don’t need to be fast. You don’t need to be fit in some abstract elite sense. You need to understand what’s actually happening to your body on an incline, adjust two or three specific things, and then do a small amount of targeted training. That’s it. This isn’t about loving hills — plenty of good runners still dread them. It’s about not falling apart every time the road tilts up.
We’ll cover the technique that actually changes how a hill feels mid-run, the pacing strategy that stops you blowing up halfway, and a simple training plan to build hill-specific strength and lung capacity — all scaled for someone running three or four times a week, not someone training twice a day.
Why hills destroy your pace more than they should
Running uphill at the same effort as flat ground means running significantly slower — and that’s correct, not a failure. The problem is most runners don’t adjust their effort at all. They try to hold their flat-ground pace on a 5% incline, their heart rate spikes into the red, and by the top they’re walking anyway, just later and more painfully.
A rough rule: for every 1% of gradient, your effective pace slows by roughly 12–15 seconds per km if you’re holding the same effort. So a hill that’s 4% steep, at what feels like your normal easy pace, should actually run about 45–60 seconds/km slower on your watch — and that’s completely normal, not a sign you’re getting unfit.
The fix starts with accepting that uphill running is an effort-based exercise, not a pace-based one. Check your breathing, not your watch. If you’re running by heart rate, your zones should hold steady going uphill — treat an incline the way you’d treat an interval, where effort matters more than the number. If you’re new to that concept, our guide to heart rate training zones for runners explained is worth ten minutes before your next hilly route.
The technique that actually works
Forget “lean into the hill” — it’s vague advice that usually just makes people hunch from the waist, which closes off your chest and makes breathing harder. Here’s what to actually change:
Shorten your stride, don’t force it longer. Trying to maintain your flat-ground stride length uphill overloads your calves and hip flexors fast. Shorter, quicker steps keep your cadence close to normal and reduce the braking force on each landing.
Lean from the ankles, not the waist. A slight forward lean is correct — but it should come from your whole body tilting forward from the ankle, like you’re being gently pulled up the hill by the chest. Leaning from the waist folds you over and restricts your diaphragm.
Drive your arms, not your knees. On flat ground, leg drive does most of the work. On a hill, your arms set the rhythm — a slightly more vigorous, shorter arm swing helps maintain cadence when your legs want to slow down.
Look 10–15 metres ahead, not at your feet. Staring down exaggerates the forward hunch and makes the hill feel endless. Look slightly ahead — it keeps your posture upright and gives you a mental sense of progress.
Relax your shoulders and hands. Under effort, people clench their fists and shrug their shoulders toward their ears. It burns energy for nothing. Periodically check in and consciously drop them.
Pacing: the part that actually saves your race
Technique helps you move efficiently. Pacing is what stops you blowing up. The single biggest mistake runners make on hilly routes or hilly races is attacking the climb and paying for it on the descent or the flat after.
| Hill strategy | What it looks like | When to use it |
|---|---|---|
| Even effort | Slow down enough that perceived effort stays level; pace drops naturally | Training runs, long races, any hill over 400m |
| Steady surge | Hold pace slightly harder for short hills (under 200m), then recover | Short, punchy hills in a 5K or 10K |
| Controlled negative split | Deliberately run the first half of a long climb conservatively, build into the second half | Marathon courses with sustained climbs (e.g. hilly road marathons) |
| Walk-run | Walk short, steep sections deliberately, then resume running at the top | Very steep trail sections, beginners, anyone prioritising finishing over time |
That last one deserves more respect than it gets. Elite trail runners walk steep sections — not because they’re tired, but because walking is mechanically more efficient than running past a certain gradient (generally somewhere around 15–20%, though it varies by fitness and leg length). If you’re walking a steep hill in a race, you are not failing. You are doing exactly what good runners do.
What happens on the way down matters too
Downhill running gets ignored because it feels easier, but it’s where a lot of quad damage and twisted ankles happen. Eccentric loading on the way down — your muscles lengthening under load with every landing — is what causes the brutal soreness two days after a hilly race, far more than the climbing itself did.
Keep your steps quick and light, let gravity do the work rather than actively pushing off, and resist the urge to lean back to “brake” — that increases impact through your knees. A slight forward lean, same as uphill, with a quicker cadence, lets you control speed without hammering your joints.
Training hills without overdoing it
You don’t need a dedicated hill-running block to get meaningfully better at this — a few sessions worked into your existing week will shift things in 4–6 weeks. Here’s a realistic plan if you’re running 3–4 times a week:
Week 1–2: Get used to the terrain.
Once a week, add a route with 2–3 moderate hills (3–5% gradient, 200–400m long) at easy, conversational pace. The goal isn’t speed — it’s exposing your legs and lungs to the stimulus without forcing intensity on top of it.
Week 3–4: Add controlled hill repeats.
Find a hill that takes 60–90 seconds to climb at a hard-but-controlled effort (not a sprint). Run up focusing on form, jog or walk back down for recovery, repeat 4–6 times. This builds the specific strength and lactate tolerance hills demand without the joint pounding of flat-ground speedwork.
Week 5–6: Combine hills with your existing sessions.
If you already do a weekly tempo or interval session, swap it for a hilly route once every other week instead of adding extra volume. This is especially useful if you’re building toward a hilly race — our hill training for runners guide breaks down specific repeat structures if you want to go further with this.
Two sessions a month focused on hills, layered into training you’re already doing, is enough for most recreational runners. You’re not trying to become a mountain goat. You’re trying to stop hills wrecking your pacing and your motivation.
Strength work that actually transfers
Hills demand more from your glutes, calves, and hip flexors than flat running does. You don’t need a gym membership, but 10 minutes twice a week of the right exercises makes a measurable difference:
- Calf raises: 3 sets of 15–20, slow and controlled, progressing to single-leg
- Step-ups: 3 sets of 10 per leg on a knee-height box or stair, driving through the heel
- Glute bridges: 3 sets of 15, focusing on a strong squeeze at the top
- Single-leg deadlifts: 2–3 sets of 8 per leg, which doubles as balance and hip stability work
This is the same kind of accessory work that helps with overall running resilience, not just hills — worth doing year-round rather than just before a hilly race. If you’re prone to calf or Achilles issues, be cautious ramping up hill volume too fast; the NHS has useful general guidance on building exercise intensity safely if you’re returning from injury or starting from a low base.
When hills are a genuine red flag, not just hard
There’s a difference between “this is uncomfortable because hills are hard” and “something is wrong.” Sharp, localised pain in the Achilles, persistent calf tightness that doesn’t ease after warming up, or knee pain specifically on descents are signs to back off and investigate rather than push through. If you’re dealing with ongoing Achilles issues, we’ve covered what’s safe to continue running through in our piece on Achilles tendinopathy and running.
The Honest Takeaway
- Tomorrow’s run: if there’s a hill on your route, consciously shorten your stride and check your shoulders are relaxed — that’s the single highest-value technique fix.
- Stop chasing flat-ground pace uphill. Run by effort, let the number on your watch drop, and trust that it’s correct.
- Walking a steep section is a legitimate strategy, not a failure — plenty of strong runners do it deliberately.
- Add one hill-repeat session every two weeks for 4–6 weeks before deciding whether hills are “just not for you.” Most people change their mind by week four.
- Don’t ignore the downhill — light, quick steps and a slight forward lean protect your knees more than bracing backward ever will.
Next read: Hill training for runners: benefits and sessions that work