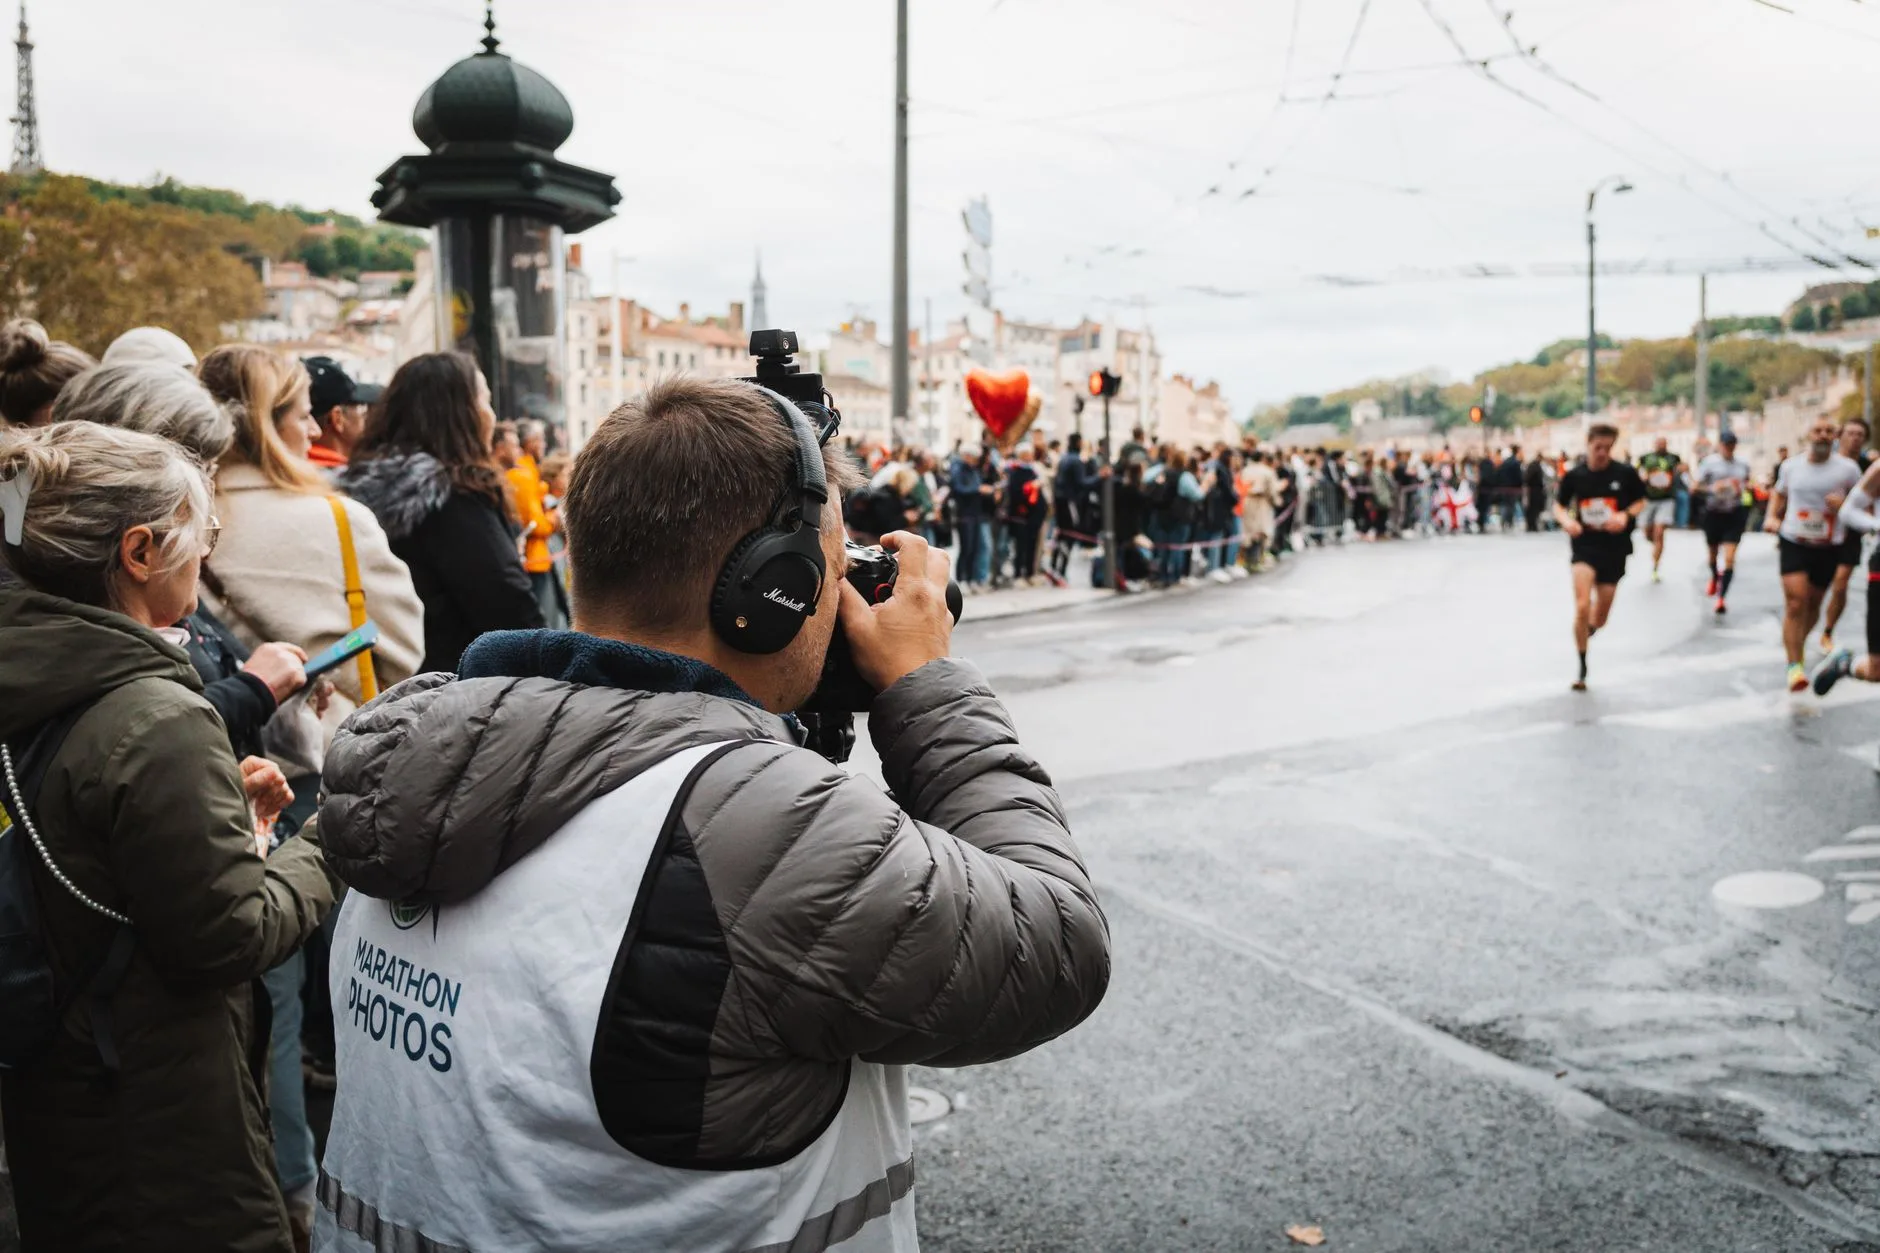
Photo by HAMZA YAICH on Pexels
You’ve trained for months. You cross the finish line, buzzing, proud, maybe crying a little. Three weeks later the official photos land in your inbox and you look like you’re mid-sneeze, one arm flailing, mouth open in a way that’s deeply unflattering. You don’t buy the £25 digital download. Again.
This happens to almost everyone, not because you’re photogenic-deficient, but because race photography catches you at random split-second moments during an activity that is, by nature, not graceful. Nobody looks good running full effort. The good news: a handful of small, practical adjustments can shift the odds heavily in your favour, without changing how you actually run or slowing you down.
This isn’t about vanity for its own sake. Plenty of runners want a decent photo to mark a milestone — a first half marathon, a sub-60 10K, a comeback race after injury. You’ve earned the memory. It’s reasonable to want it to not look like a grimace.
Know where the photographers actually are
Most race photographers aren’t randomly scattered — they cluster at predictable points: the start line, roughly the 5K and 10K marks on longer races, any notable landmark (bridges, cathedrals, finish arches), and the final 200m. Official photography companies like MarathonFoto or Sportograf also tend to position themselves just after a mild incline or bend, where runners naturally slow and spread out — easier shots for them.
Practical move: in the days before the race, check the event’s course map or website for marked “photo zones.” Many larger races now publish this. If you know roughly where the cameras will be, you can mentally prepare 50 metres out rather than being caught off guard mid-stride with your tongue out.
Fix your arm carriage before it’s a habit
The single most common photo-ruiner isn’t your face — it’s your arms. Tense shoulders creeping up to your ears, wrists flailing across your body, or a chicken-wing elbow all look worse on camera than they feel in the moment.
Good arm carriage also happens to be more efficient running form, so this isn’t purely cosmetic:
- Elbows bent around 90 degrees, swinging front to back (not across your chest)
- Hands relaxed, like you’re holding a crisp without crushing it
- Shoulders down and back, not hunched toward your ears
Practice this on an easy run at 6:30–7:00/km pace where you’re not gasping — drilling form under fatigue doesn’t work. Do 4–5 x 20-second “form resets” on a recovery run: consciously drop your shoulders, loosen your hands, check your arm swing. It becomes more automatic over 3–4 weeks, which is exactly when it’ll show up unprompted in your race photos too.
The sunglasses dilemma
Sunglasses hide tired eyes and squinting, which objectively improves most race photos. But they also hide you — the whole point of a photo is often to see your face. There’s no universally correct answer here, but a useful rule: wear them on sunny days above roughly 15°C, skip them on overcast days or anything cooler, where your eyes will read as open and present rather than hidden.
If you do wear them, make sure they fit properly and don’t slide down your nose mid-race — nothing looks worse than constantly pushing glasses up in a photo. The NHS has sensible, non-running-specific guidance on choosing UV-protective sunglasses that’s worth a glance if you’re shopping for a new pair before a summer race: NHS sun safety advice.
Timing your smile (without faking it)
Forcing a grin for 26.2 miles isn’t realistic, and a fake smile looks exactly as fake in a photo as it does in person. But you can bank a handful of genuine-looking smiles at the moments that matter most:
| Photo zone | What to do |
|---|---|
| Start line | Easy — adrenaline does the work for you |
| 5K / early landmark | Lift your chin, soften your jaw, exhale rather than grit teeth |
| Mid-race (10–15K) | Don’t force it — a relaxed, neutral face beats a strained smile |
| Final 200m | Arms up, genuine effort face is fine — this is the “proof” shot most people actually want |
A trick that works better than “smile”: think of something specific and mildly funny or satisfying for 2–3 seconds as you pass a camera — your actual finish time, a joke with a running buddy, the fact that you’re nearly done. It produces a more natural expression than consciously performing happiness.
Posture and the “fake relaxed jog” problem
Runners often tense up the instant they spot a camera, overcorrecting into a stiff, unnatural stride that looks worse than their normal form. The fix is almost counterintuitive: don’t try to look relaxed. Just keep doing what you were doing 10 seconds earlier.
If you want one genuinely useful cue, it’s this: keep your gaze on the horizon, not down at your feet or sideways at the camera. A lifted gaze naturally opens your chest, lengthens your neck, and avoids the hunched “staring at my watch” pose that ruins so many otherwise decent shots.
Kit choices that photograph well
This matters more than people expect. Plain, well-fitted kit in a single bold colour photographs far better than busy patterns or faded greys, which tend to look washed out and shapeless in race-day lighting. Bright colours — red, cobalt blue, orange — also help you spot yourself in the thousands of crowd shots later, which is its own practical win.
A few small, overlooked details:
– Tuck your bib number flat with all four safety pins — a flapping, folded bib looks sloppy in every photo
– Avoid race-day new kit for obvious comfort reasons (covered well elsewhere), but also because ill-fitting new gear rarely photographs flatteringly
– If you’re using a cap for sun protection, make sure the brim isn’t shading your entire face out — tilt it back very slightly
What actually matters more than the photo
It’s worth saying plainly: the photo is a souvenir, not the goal. If you’re running your first half marathon, chasing a sub-4 marathon, or simply trying to finish your local 10K without stopping, your energy is far better spent on pacing, fuelling, and getting round in one piece. If you’re racing a 10K soon, it’s worth sorting your race day pacing and fuelling strategy first — a good photo means nothing if you’ve blown up at mile 7. Races like the TCS London Marathon now publish official photo zone maps alongside course information, which is worth checking the week before if photos genuinely matter to you.
The Honest Takeaway
- Check the course map for marked photo zones in advance — you can’t pose for a camera you don’t know is there.
- Drill relaxed arm carriage on easy runs weeks before race day; fatigue won’t let you fix form on the spot.
- Save genuine effort or smiles for the 5K marker and the final 200m — don’t try to perform happiness for 13 or 26 miles straight.
- Wear sunglasses only if it’s genuinely sunny; otherwise let your eyes show.
- Remember the photo is a bonus, not the point — if you’re months out from race day, your training consistency matters infinitely more than your finish-line face. If you’re building toward that race at all, the first marathon experience lessons from runners who’ve been there are a better use of your prep time than photo strategy.
Next read: Get your race day pacing and fuelling sorted first